Lozier Wall Shelving
Lozier Wall Shelving
Couldn't load pickup availability
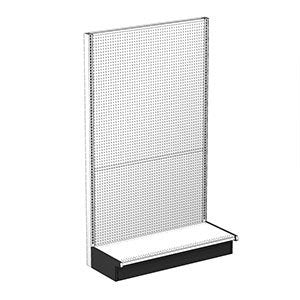
Lozier wall shelving units are crucial in optimizing available room in various settings, ranging from retail stores to personal garages. These systems make the most of vertical spaces, transforming bare walls into productive storage areas. Thanks to their robust design, they can hold a significant amount of weight, making them suitable for both light and heavy items.


Convenient Accessories for Versatility
We provide a wide range of adaptable accessories and add-ons for Lozier shelving systems, designed to meet diverse needs. These accessories are not only flexible but also enable quick and easy transformations of your storage setup—for instance, converting a standard rack into a specialized shampoo display in just minutes. The accessories are user-friendly, requiring no professional assistance for installation, relocation, or modification. They come in various colors, sizes, designs, and finishes, offering numerous customization options.
Effortless Installation Process Similar to European and Australian gondola shelving, American gondola shelving, is designed for easy installation. Here’s a simple guide to setting up your shelving:
- Arrange the cartons as recommended.
- Mark a line on the floor to indicate the system’s placement.
- Position the uprights centrally with base brackets nearby.
- Install the base, front center, and bottom rails.
- Attach the spring-loaded base bracket to the upright and secure it by pushing down until it locks into place.
- Assemble the first section by connecting the upright assemblies and attaching the bottom rail.
- Add the center rail and attach the base front to both uprights.
- Identify the top of the back panels by locating the marked end and install one back panel.
- Continue assembling additional sections along the marked line.
- Align all base fronts with the line.
- Level the fixture on uneven surfaces using a leveling leg wrench in the end upright slots, and adjust the height using a string method.
- Ensure all uprights are vertically aligned and at the correct height.
- Adjust the leveling legs of the uprights to be slightly off the floor.
- Install remaining backs and top rails, ensuring each rail locks securely into place.
- Fit the in-trim by sliding it over the base bracket between the front and rear flanges.
- Finally, install the base deck and shelves to complete the assembly.